

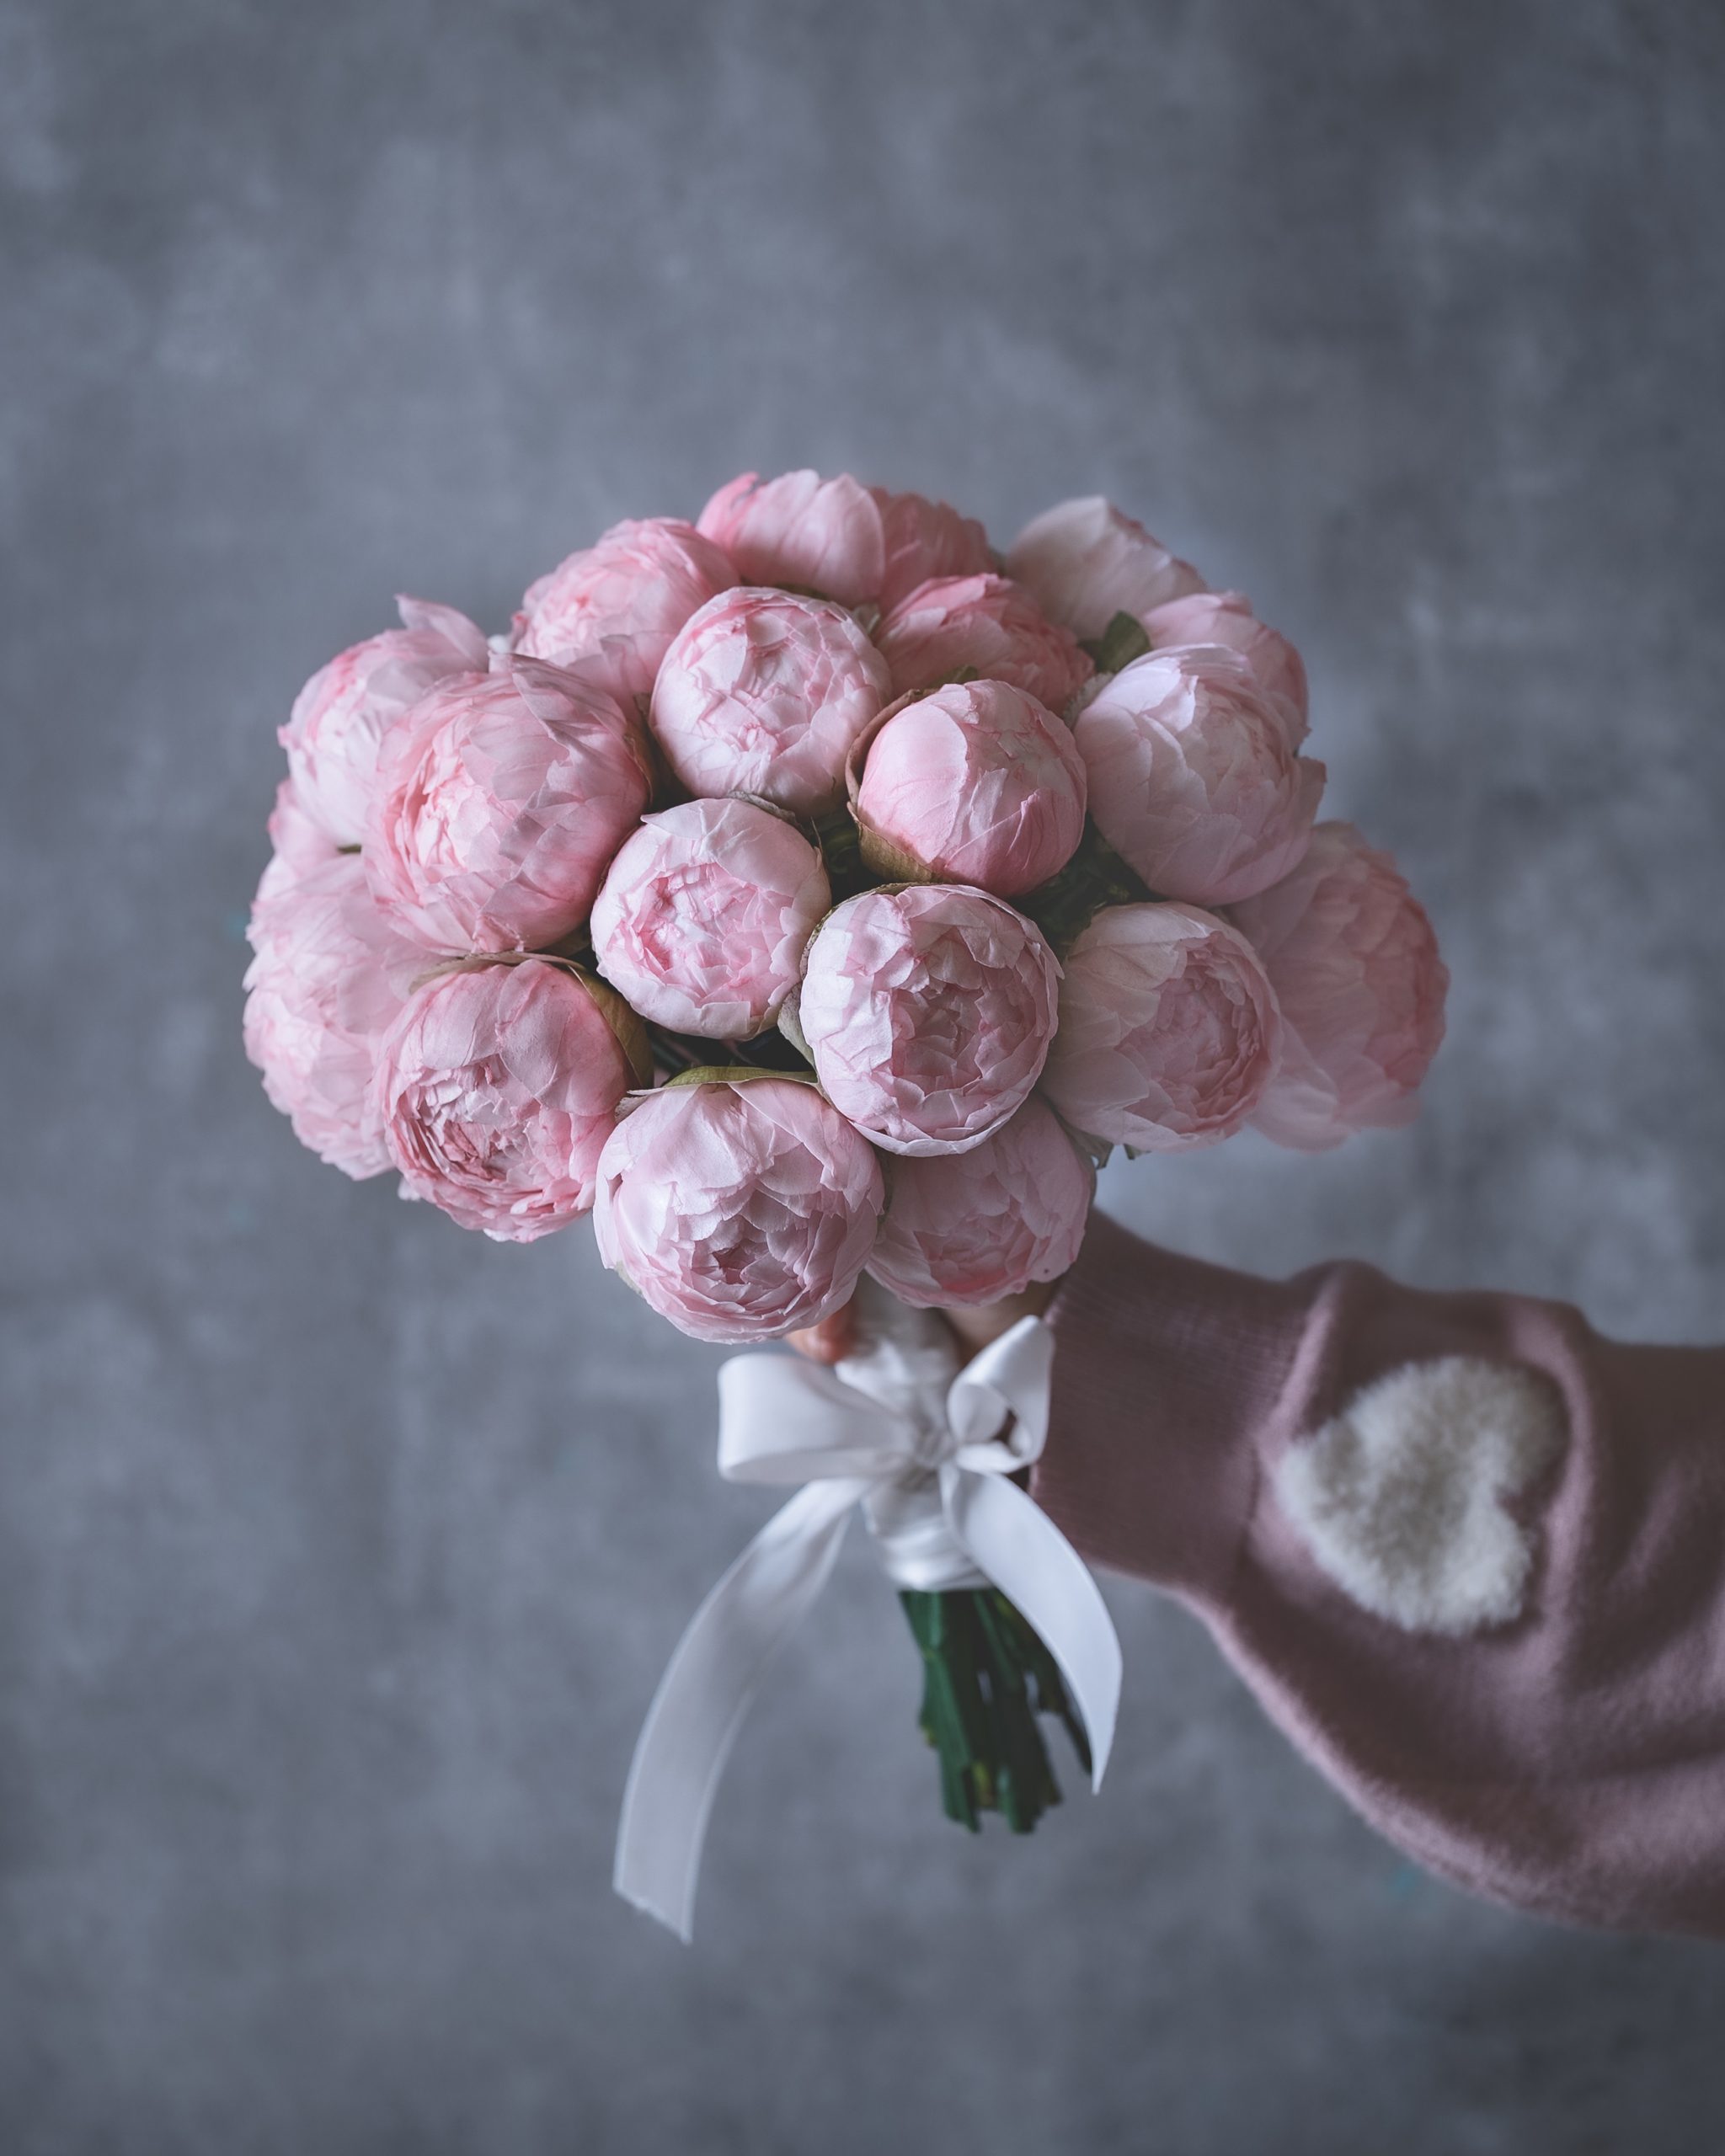
A Wafer Paper closed peoni
4 Video Lessons | Illustrated Digital Guidebook | Petal Templates | Lifetime Access
Overview
There is something truly beautiful about transforming a simple sheet of wafer paper into a delicate, lifelike flower.
Over the years, my journey with wafer paper has been one of exploration, experimentation, and discovering new ways to bring softness, movement, and character into my floral designs. My closed peonies are a result of that journey, and I’m delighted to finally share this technique with you.
The Art of Closed Peonies is a carefully designed masterclass where I’ll guide you step by step through my approach to creating these elegant flowers. From understanding the materials and preparing your petals to building a delicate closed bud, developing a fuller bloom, and adding the finishing details, every stage is demonstrated through clear instructions, beautiful close-ups, and different camera angles.
To make the learning experience even more special, I’ve created a beautifully illustrated digital guidebook to accompany the video lessons. Filled with detailed photographs, step-by-step instructions, practical tips, petal templates, and floral inspiration, it’s designed to be a valuable reference you can return to whenever you create.
Whether you’re new to wafer paper flowers or an experienced cake artist looking to explore a different approach, this masterclass is designed to make the process approachable, enjoyable, and creatively rewarding.
More than simply learning to make a closed peony, I hope this masterclass inspires you to experiment, discover your own style, and experience the joy of bringing these beautiful flowers to life.
—
Course Lessons
Part 1 — Introduction, Tools & Materials
Welcome to The Art of Closed Peonies!
In this introductory lesson, I’ll walk you through the materials and tools used throughout the masterclass.
Part 2 — Creating the Closed Bud
Discover the techniques behind creating a delicate, beautifully shaped closed peony bud.
I’ll guide you through colouring and conditioning the wafer paper, shaping the petals using my deep-cupping technique, and carefully arranging them around the centre to achieve the soft, overlapping layers that give these flowers their distinctive appearance.
You’ll learn how small adjustments in placement, moisture, and shaping can make a beautiful difference to the finished flower.
Part 3 — Building the Full Flower
In this lesson, we’ll take our closed bud a step further and transform it into a fuller, more expressive peony.
I’ll demonstrate how to introduce larger petals, build additional layers, and create natural movement while maintaining the delicate closed form.
We’ll also explore how variations in petal size, colour intensity, and the number of layers can help you create flowers with different shapes, sizes, and personalities, all using the same fundamental technique.
Part 4 — Creating the Calyx & Finishing Touches
The smallest details often make the biggest difference in bringing a flower to life.
In our final lesson, I’ll guide you through creating two different calyx styles, from a softly rounded, overlapping calyx to a more elongated, naturally shaped variation.
You’ll learn how to colour, condition, shape, and attach the calyx pieces, followed by delicate dusting and finishing techniques that add depth, character, and a realistic botanical touch to your peonies.
What’s Included
– Four detailed, step-by-step video lessons with guided instruction and close-up demonstrations.
– A beautifully illustrated digital guidebook featuring detailed photographs, written instructions, practical tips, and floral inspiration.
– Downloadable petal template to help you recreate the flowers.
– Lifetime access, allowing you to revisit the lessons and learn at your own pace.
– Access to the tutorial through a closed Instagram account
A simple technique, endless possibilities. Learn the foundations, explore the variations, and make every flower your own.